 Arduino & ESP32
Build a DIY 10-Channel ESP32 RC Controller With ESP-NOW
In this project, I built a DIY ESP32-based RC controller (transmitter) using ESP-NOW, designed to control an RC car or robot with very low latency and smooth response. This controller uses two analog joysticks and multiple push buttons, and communicates wirelessly with another ESP32 without using Wi-Fi routers, internet, or external RF modules. I’ll walk you through the entire process step by step — from assembling components, soldering, coding, casing, and finally testing it on a real RC car. What is ESP-NOW and Why I Used It ESP-NOW is a peer-to-peer wireless protocol that works on the same 2.4 GHz radio as Wi-Fi, but without needing: Internet Routers IP addresses Why I chose ESP-NOW for this RC controller: Extremely low latency, perfect for real-time RC control Direct ESP32-to-ESP32 communication No external RF modules required Works well even in Wi-Fi-crowded areas For RC and robotics projects where response time really matters, ESP-NOW is a great choice.
Project Video Demonstration
Watch on YouTube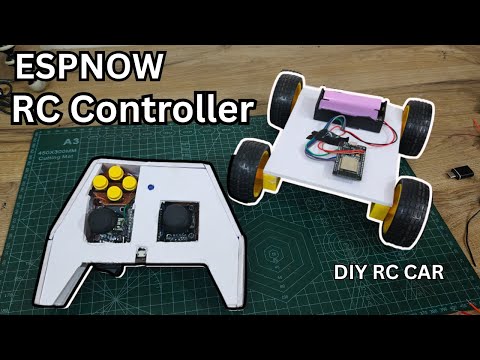 YouTube Video
Required Hardware Components (5)
ESP32 Dev Board × 2
(1 Transmitter, 1 Receiver)
PS2 Analog Joysticks × 2
Push Buttons × 6
2-cell battery holder
miscellaneous
Slide switch Resistors (for LED if required) Mechanical & Tools Perf board / general-purpose PCB Jumper wires Soldering iron & solder wire Acrylic foam board / Sunboard Hot glue / Fevibond Cutter & ruler
Step-by-Step Build Tutorial (5 Steps)
Step 1: Assembling Components on the Perf Board Assembling Components on the Perf Board
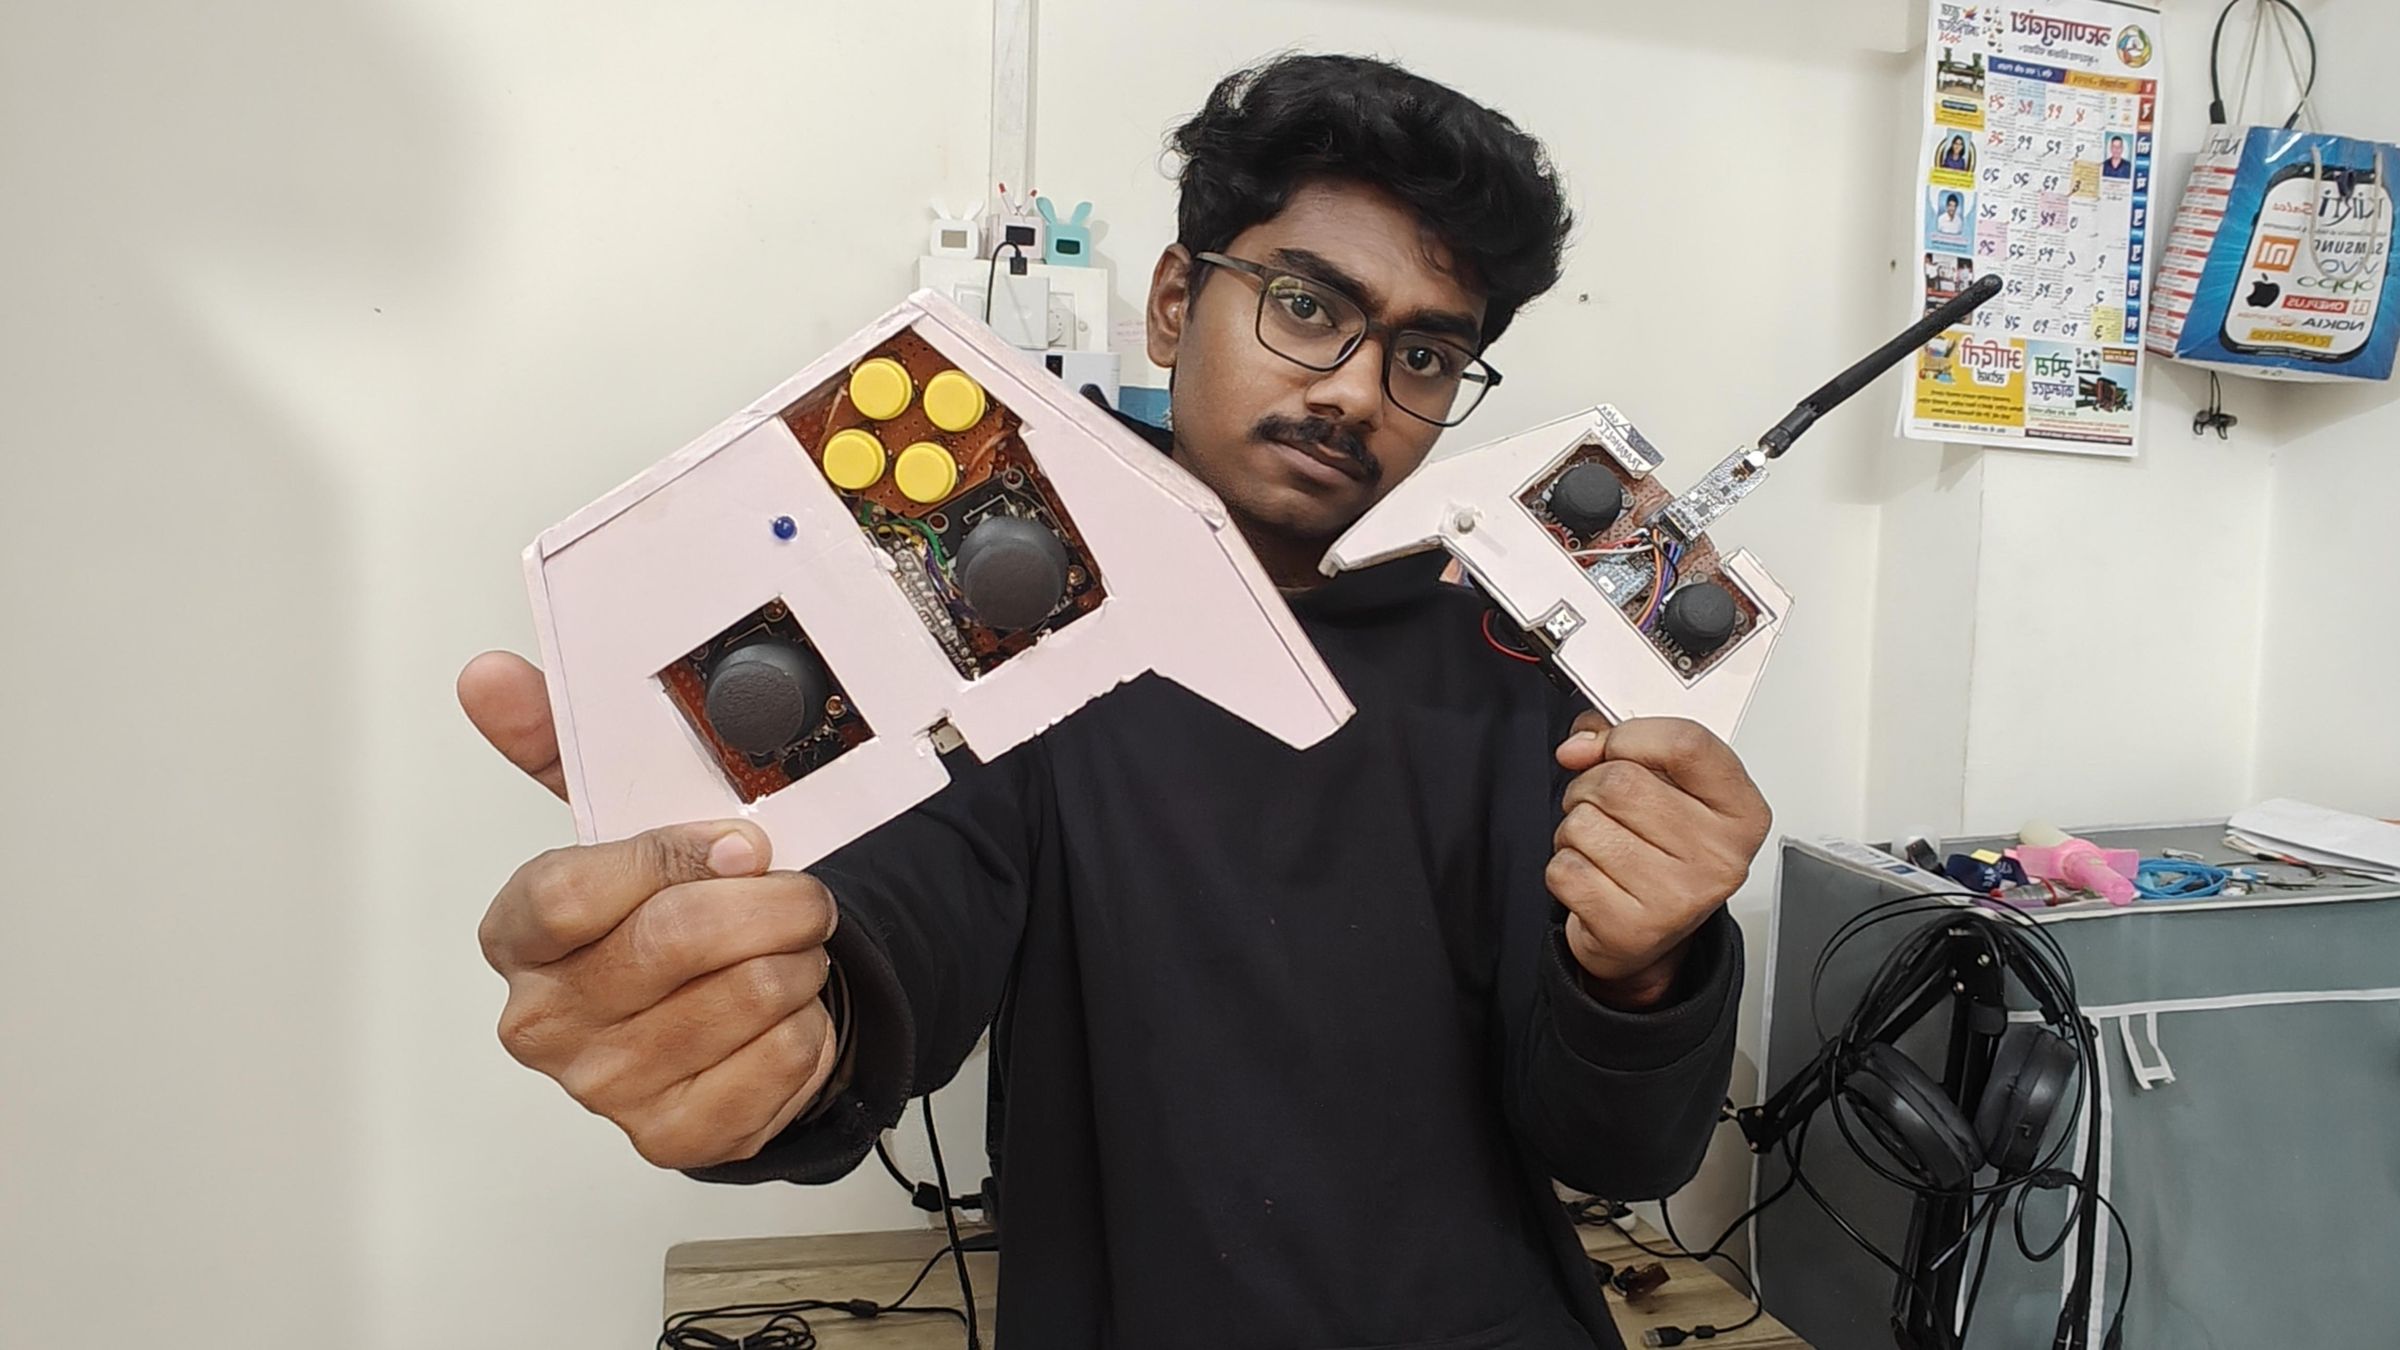
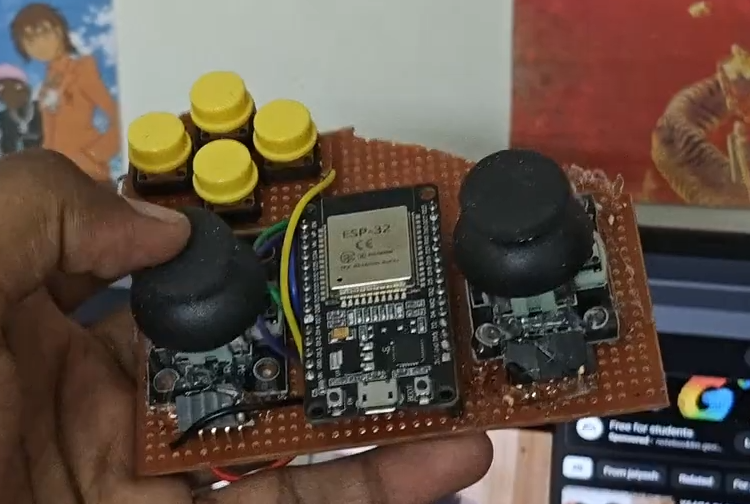
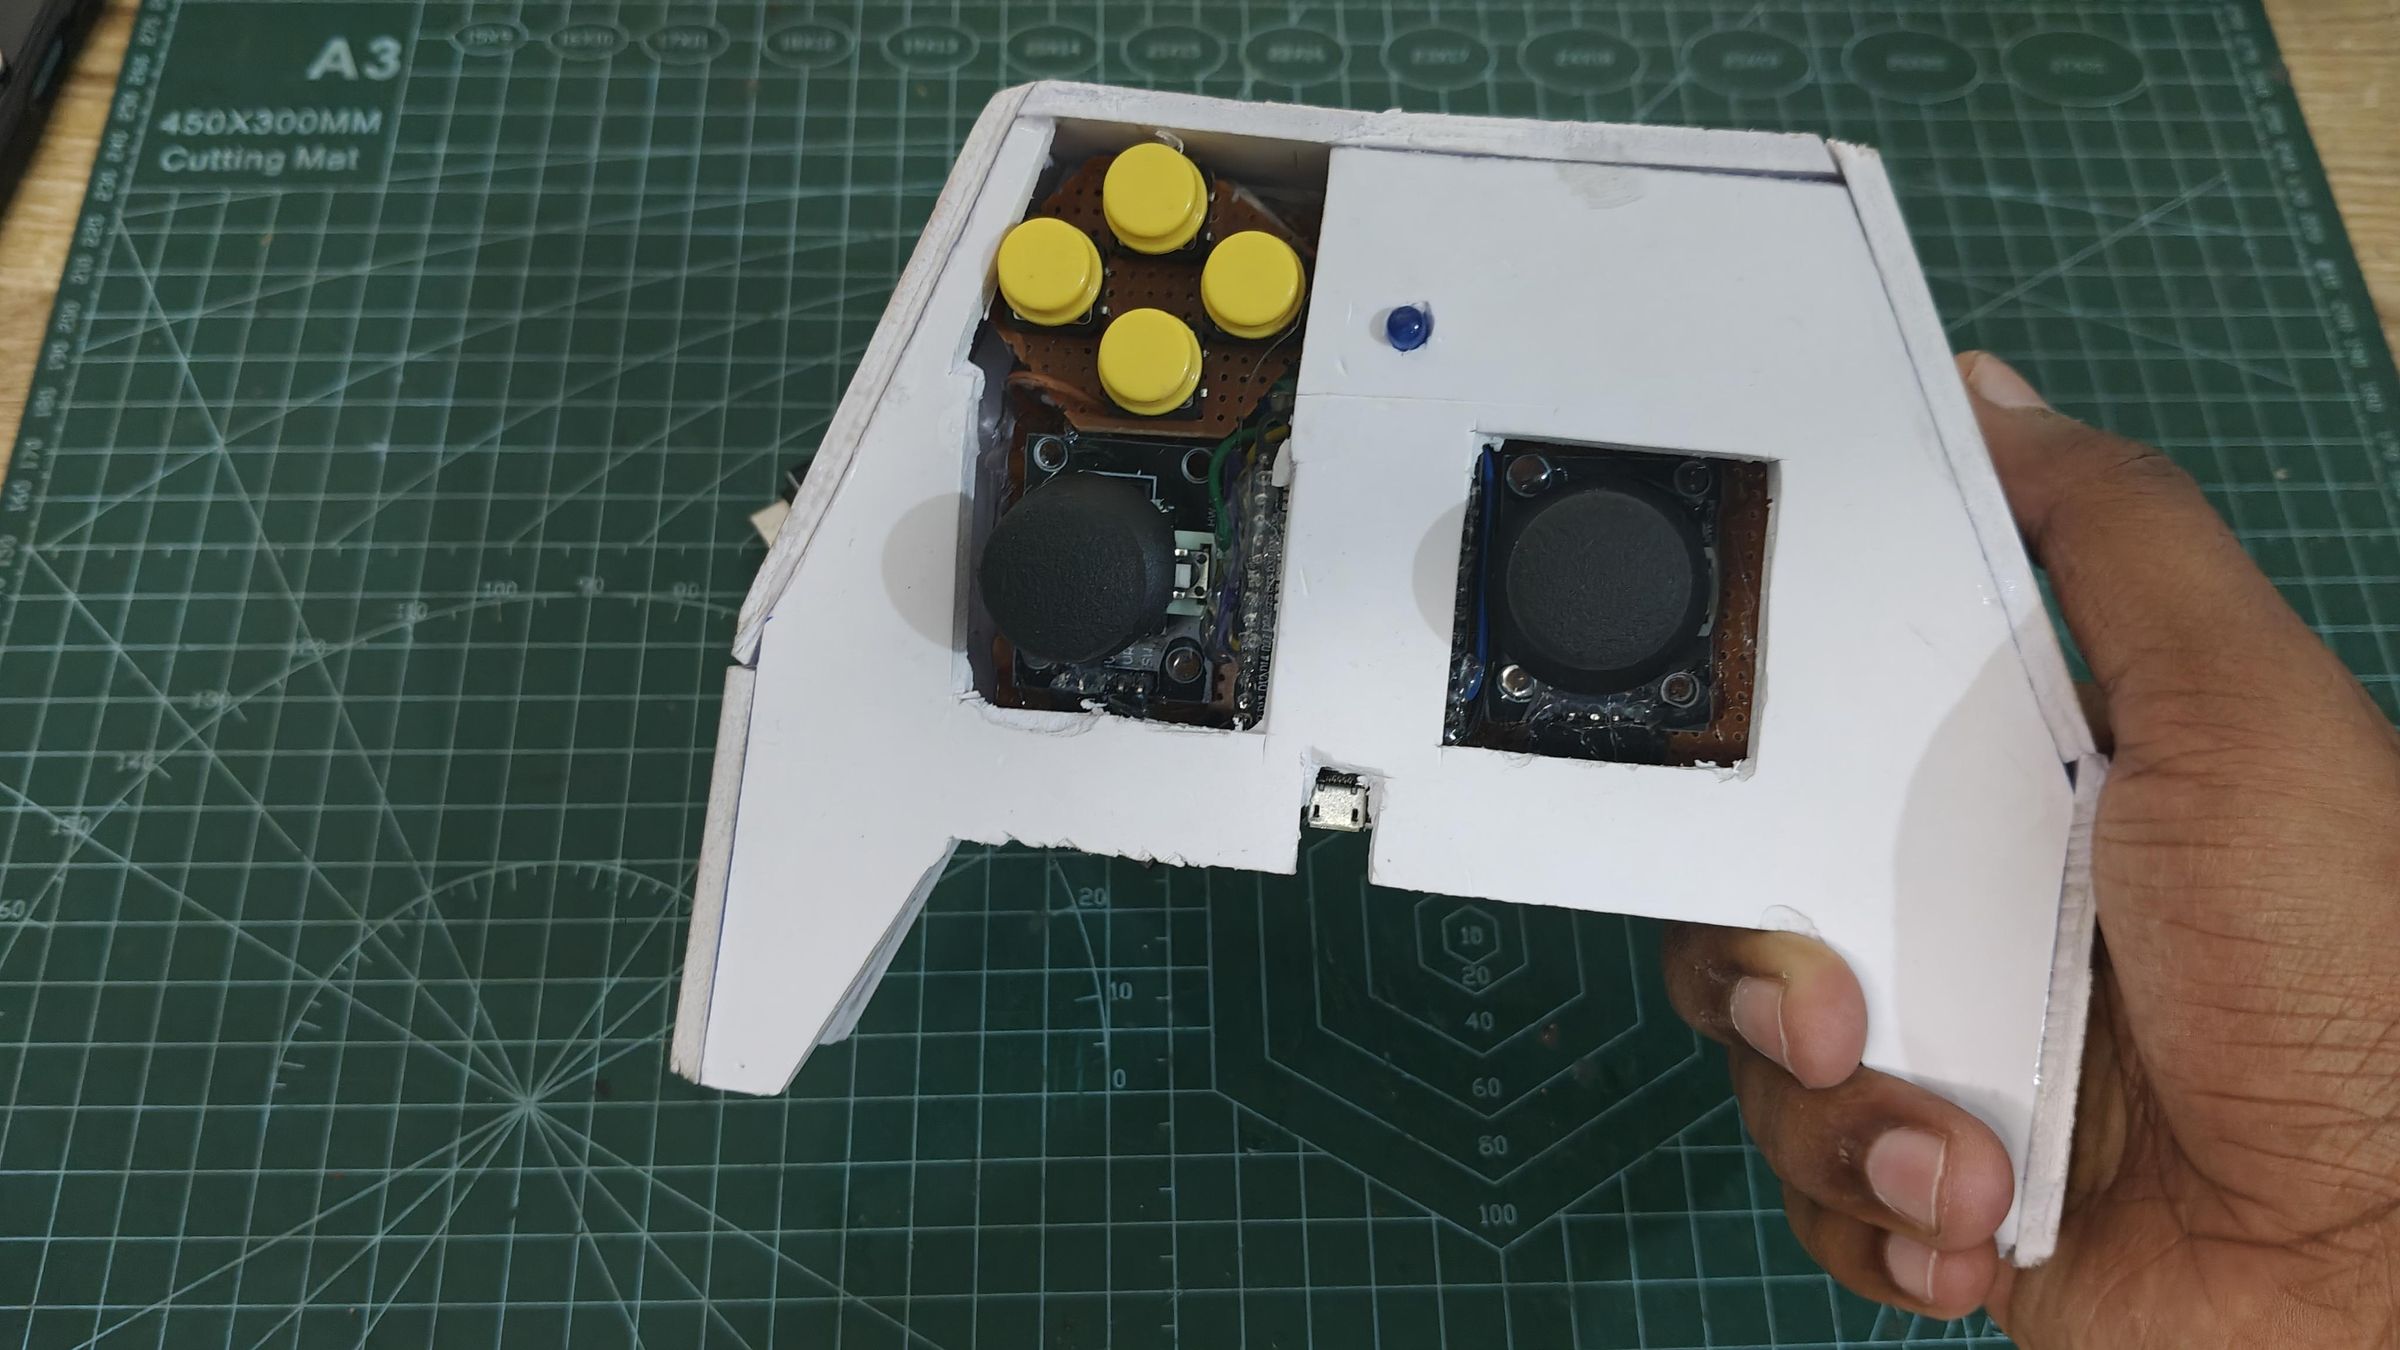
I started by arranging all the components on a perf board before soldering anything, just to make sure the layout made sense ergonomically and electrically. The ESP32 was mounted vertically at the center so that all pins remain easily accessible from both sides, while also keeping the USB port reachable for programming and debugging. I placed one joystick on the left and another on the right, mimicking a game-controller style layout, which makes the controller feel natural and intuitive in hand. Four push buttons were positioned on the upper-left side and assigned for digital directional control. Before committing to soldering, I carefully checked that the joysticks were properly aligned, the thumb reach felt comfortable during use, and nothing obstructed the ESP32’s USB port. This planning stage is honestly a lifesaver—it prevents layout mistakes and saves a lot of time and frustration later in the build.
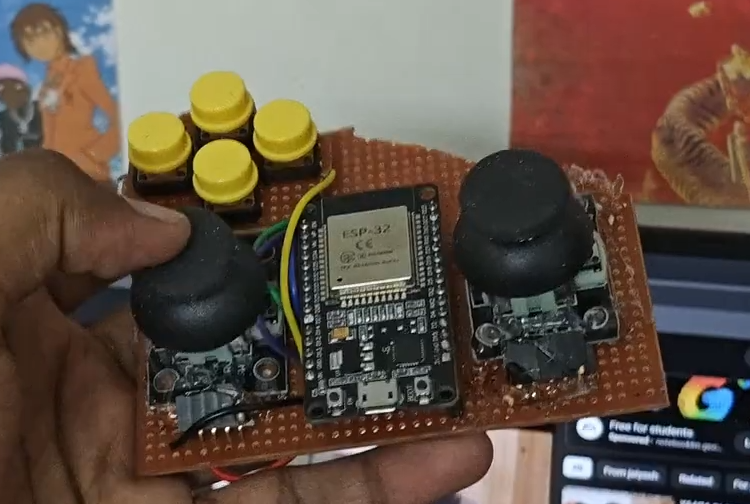
Step 2: Soldering and Wiring As Per Circuit Diagram
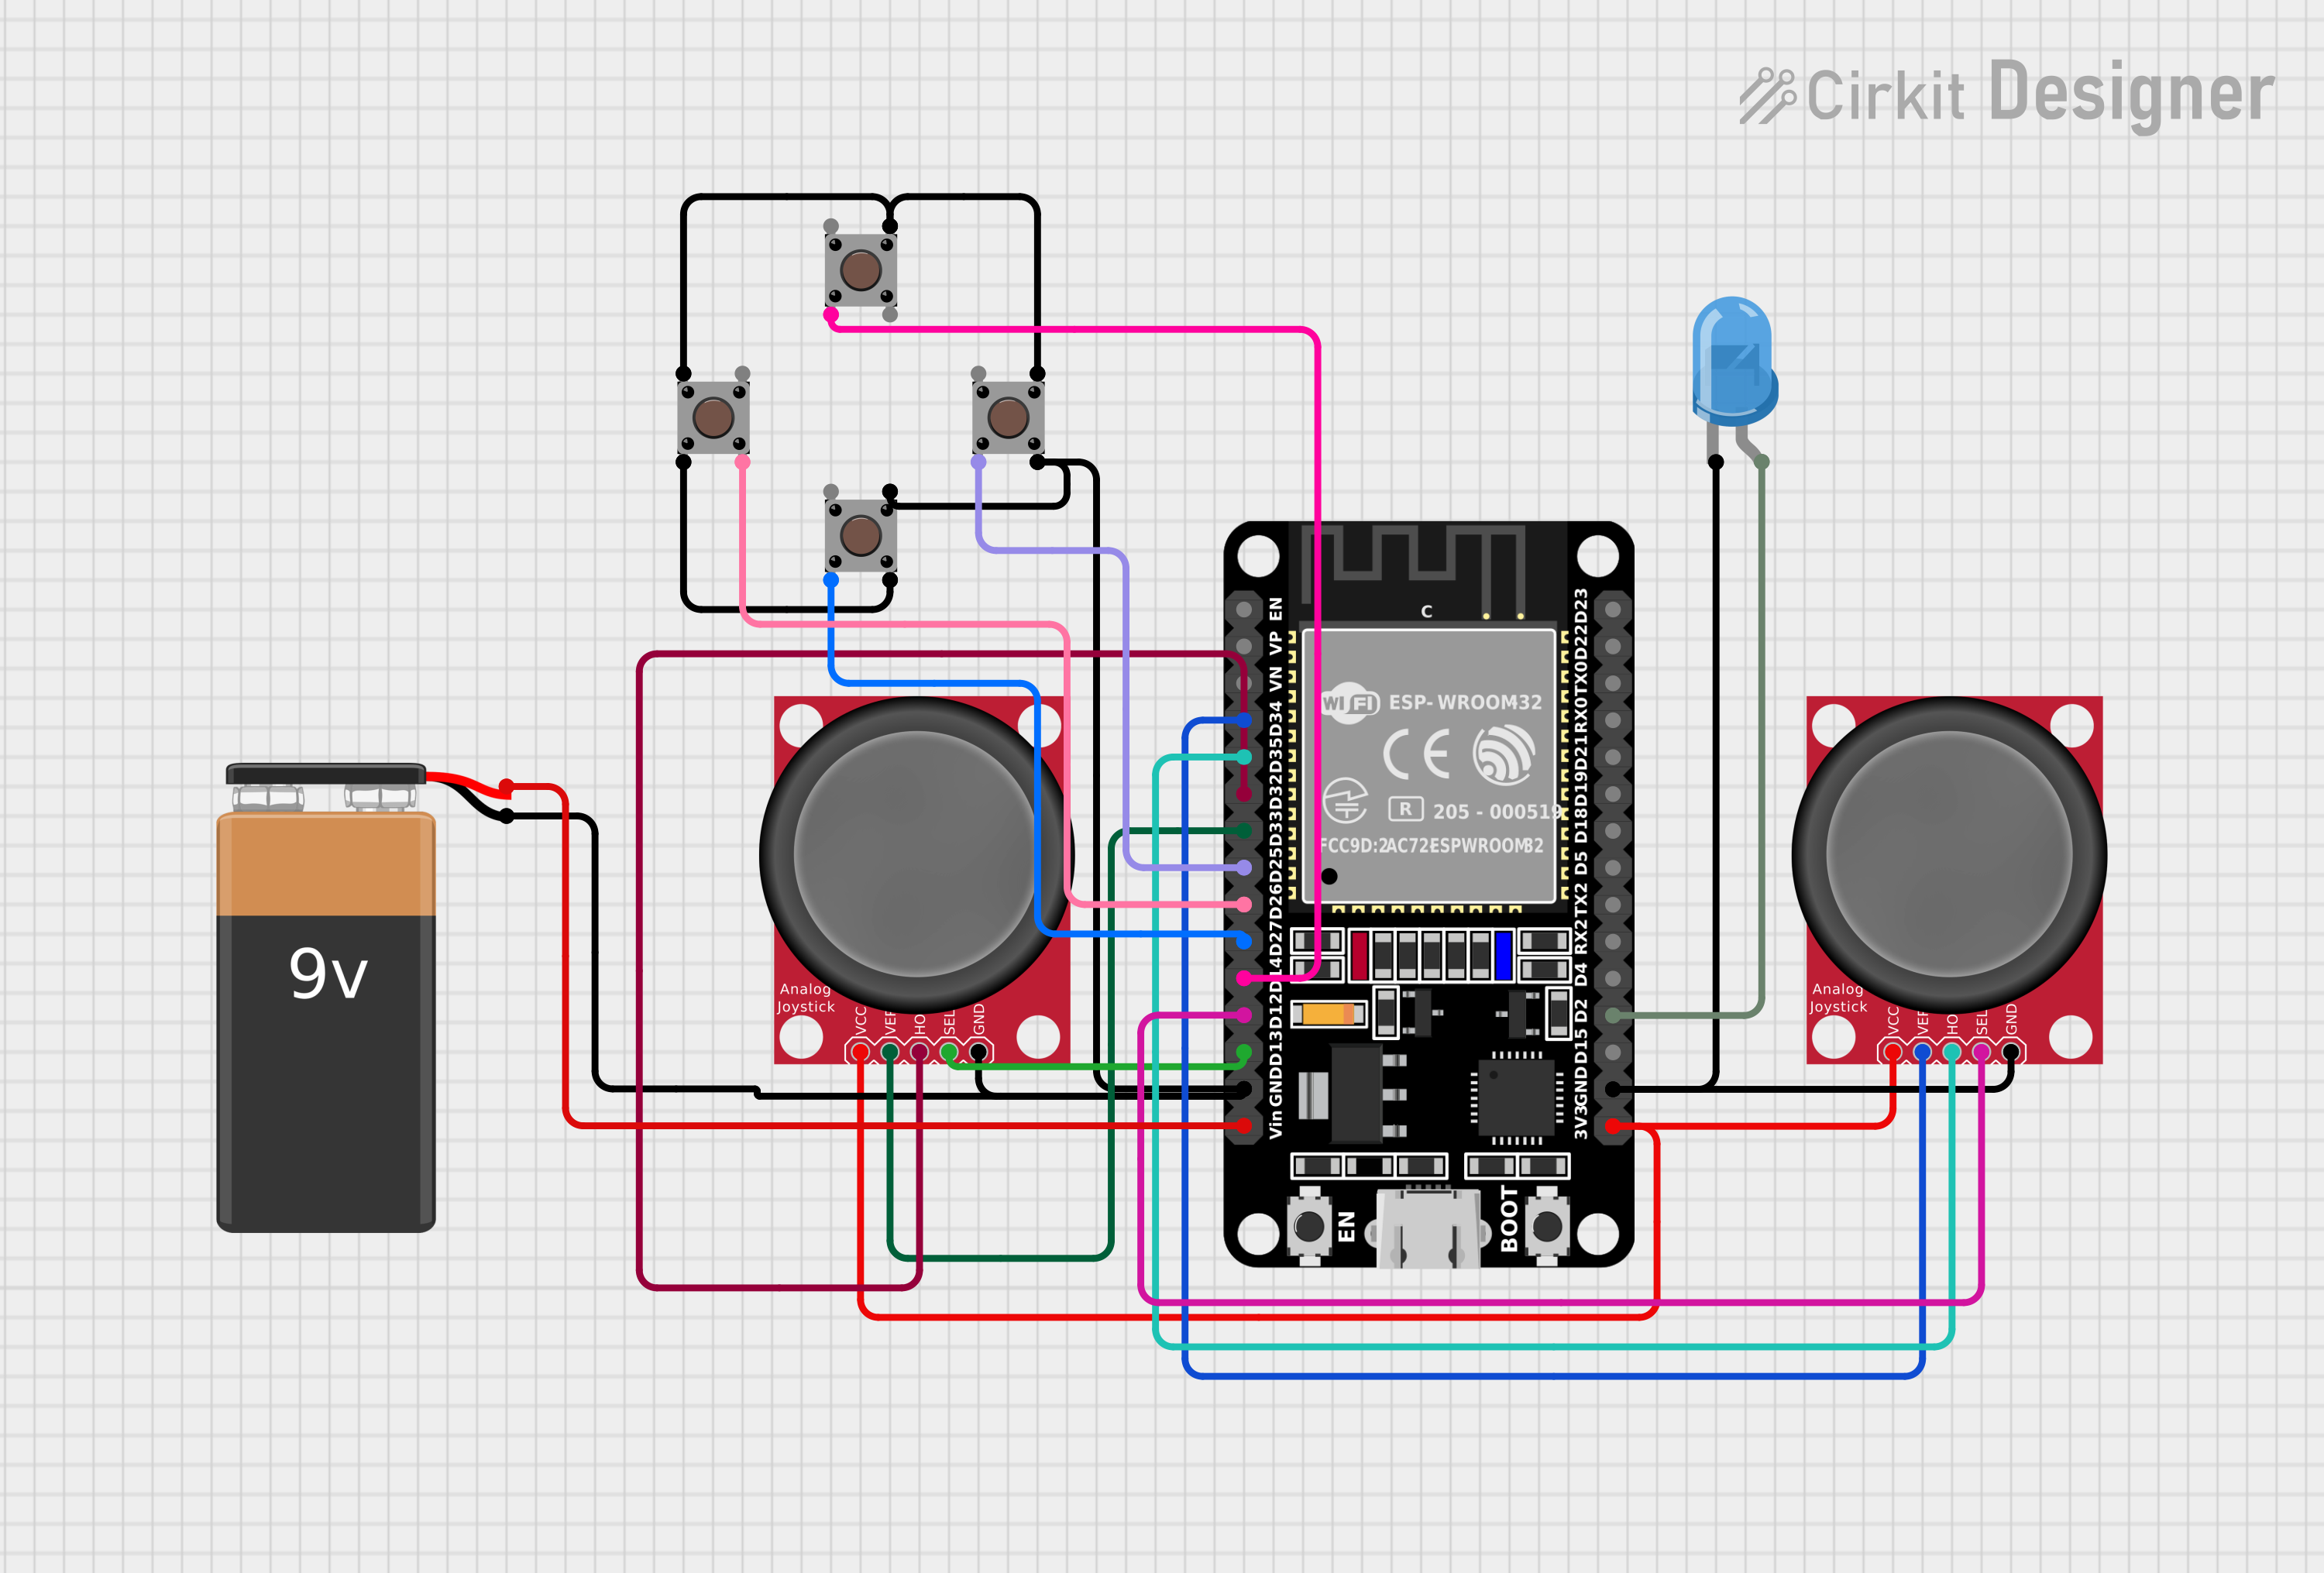
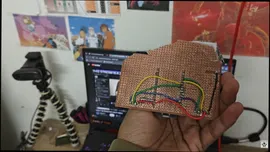
Once the layout was finalized, I started soldering the connections. All joystick X and Y pins were connected to ADC1 pins of ESP32, because ADC1 works reliably with ESP-NOW Joysticks provide analog output, which allows smooth proportional control All push buttons were connected to digital GPIO pins and configured with INPUT_PULLUP Push buttons give digital output, so they are either ON or OFF I carefully soldered each wire as per the pinout and circuit diagram. Good solder joints are important here, because loose connections can cause random input issues.
Step 3: Uploading the Code (Transmitter & Receiver)
Now comes the coding part, where everything actually starts talking to each other. One important thing to understand is that ESP-NOW does not work using Wi-Fi networks or SSIDs—it communicates directly using MAC addresses. Because of this, the transmitter ESP32 must know the exact MAC address of the receiver ESP32. Here’s how I handled it. First, I uploaded a simple MAC address finder sketch to the receiver ESP32. After opening the Serial Monitor, I noted down the displayed MAC address. I then pasted this MAC address into the transmitter code, replacing the placeholder value, and uploaded the final transmitter sketch. Code Logic (Simple Explanation): In the setup() function, the code initializes Serial communication, configures the required pins, starts ESP-NOW, and registers the receiver ESP32 as a peer using its MAC address. In the loop() function, the transmitter continuously reads joystick positions and button states, packs this data into a structured format, and sends it wirelessly to the receiver using ESP-NOW. Once both codes were uploaded, the system worked instantly—the transmitter started sending data, and the receiver began receiving it in real time. I’ve added links below to the circuit diagram and complete source code so you can replicate or modify this setup easily. Code & Circuit: https://github.com/astrix884/ESPNOW-based-10CH-RC-Controller-.git Code to get MAC address: https://randomnerdtutorials.com/get-change-esp32-esp8266-mac-address-arduino/
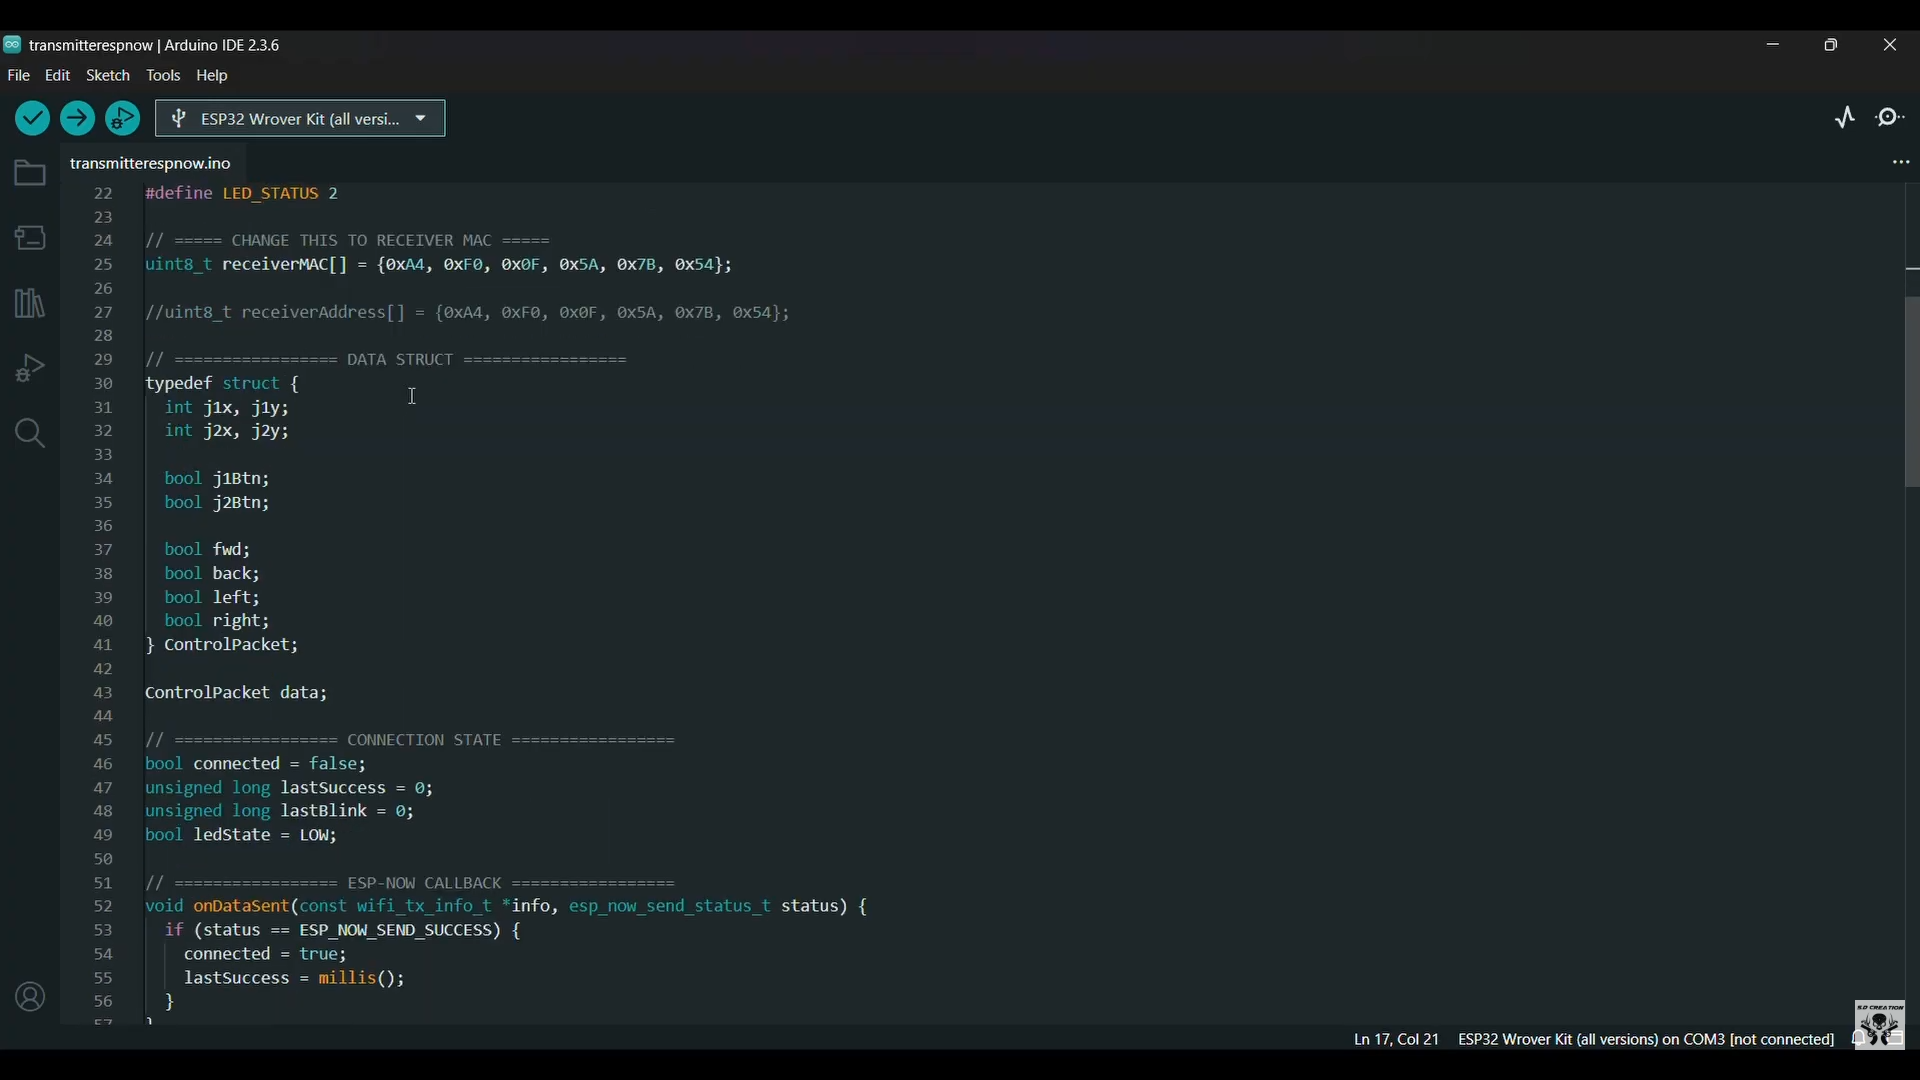
Step 4: Making the Outer Case
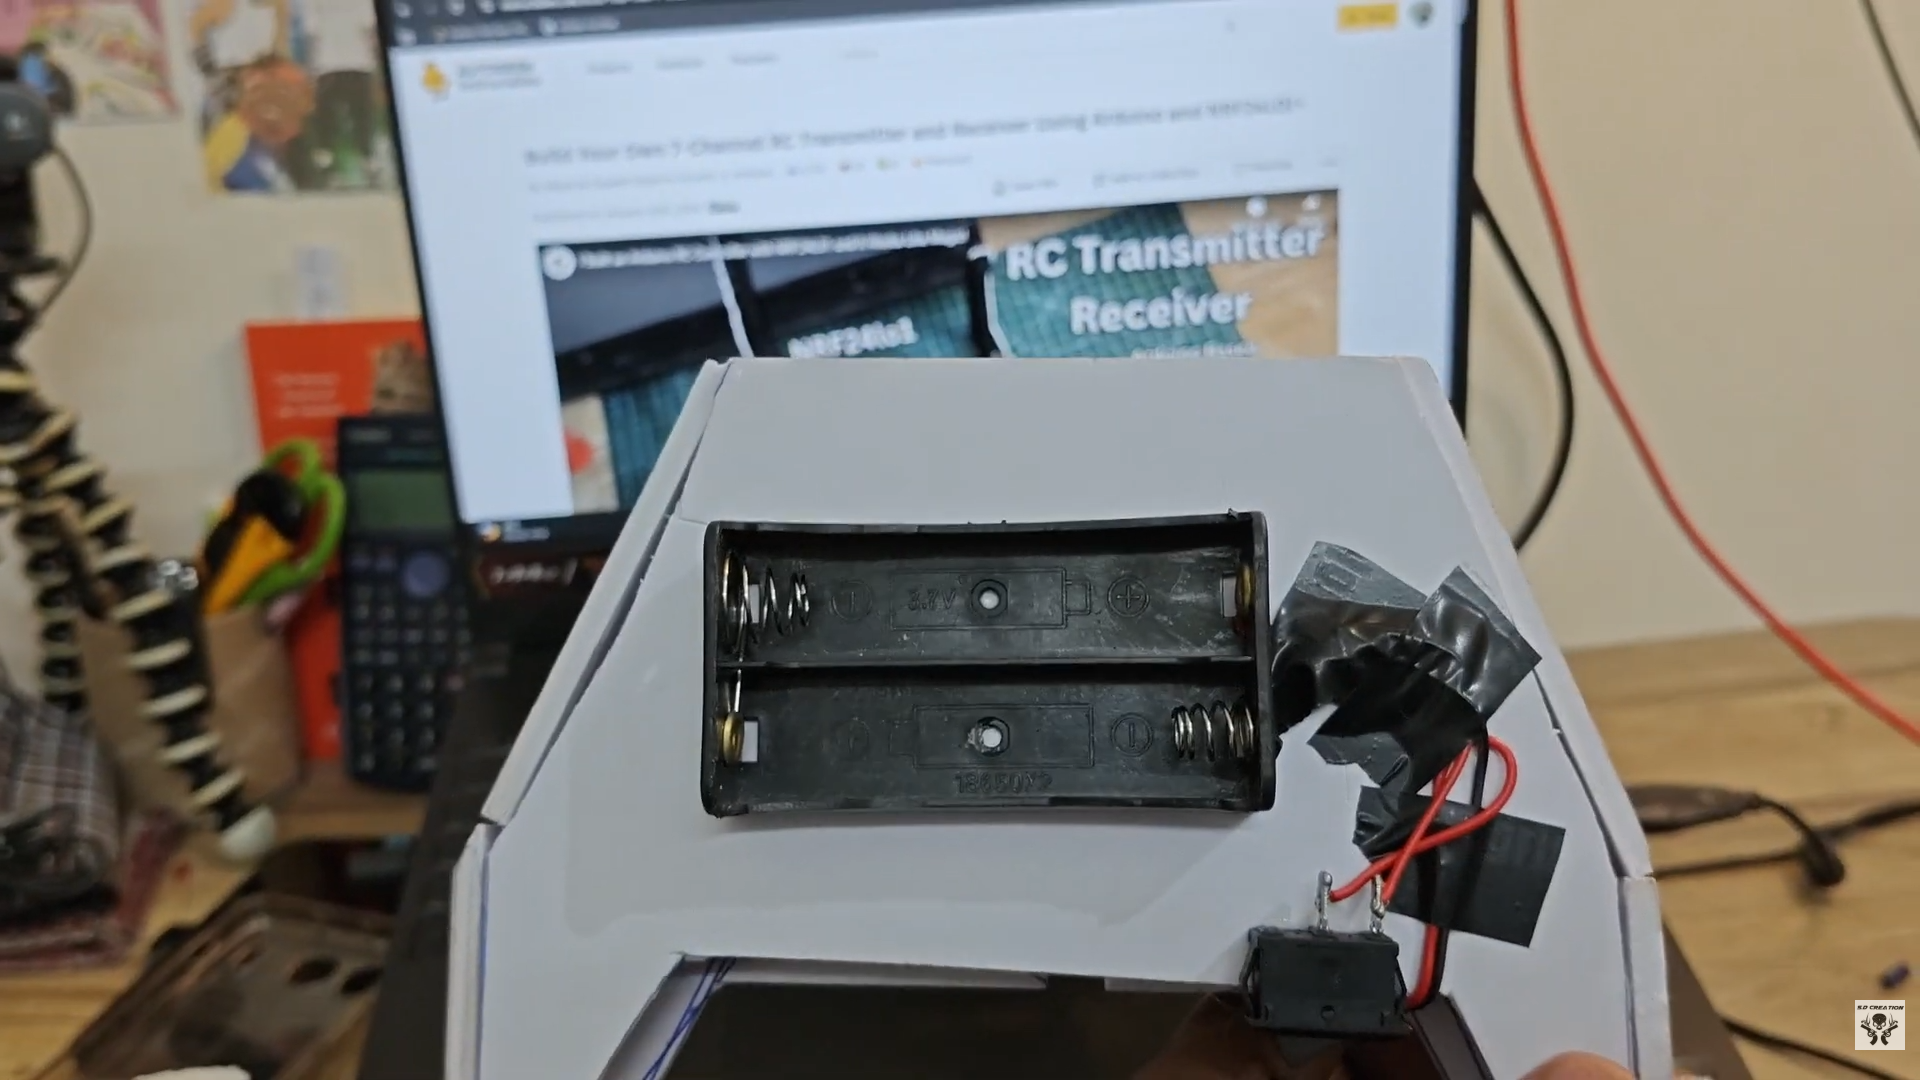
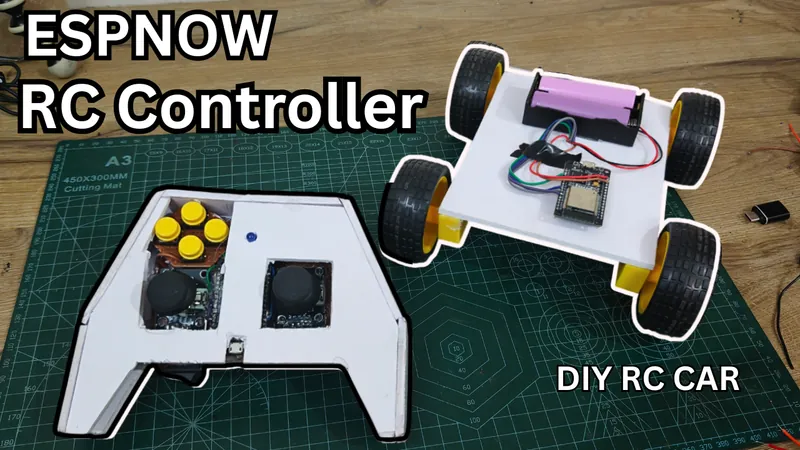
After confirming that everything was working correctly at the electrical level, I moved on to designing the outer casing. I used acrylic foam board (sunboard) to build the body and tried to replicate the feel of my earlier NRF24-based RC controller, which I was already comfortable using. The PCB was firmly glued inside the enclosure, while the battery holder and power switch were mounted securely to avoid any movement. Once assembled, the controller felt solid, well-balanced, and comfortable to hold. This step is technically optional, but it significantly improves the overall look and gives the project a clean, professional finish.
Step 5: Building a Simple RC Car for Testing
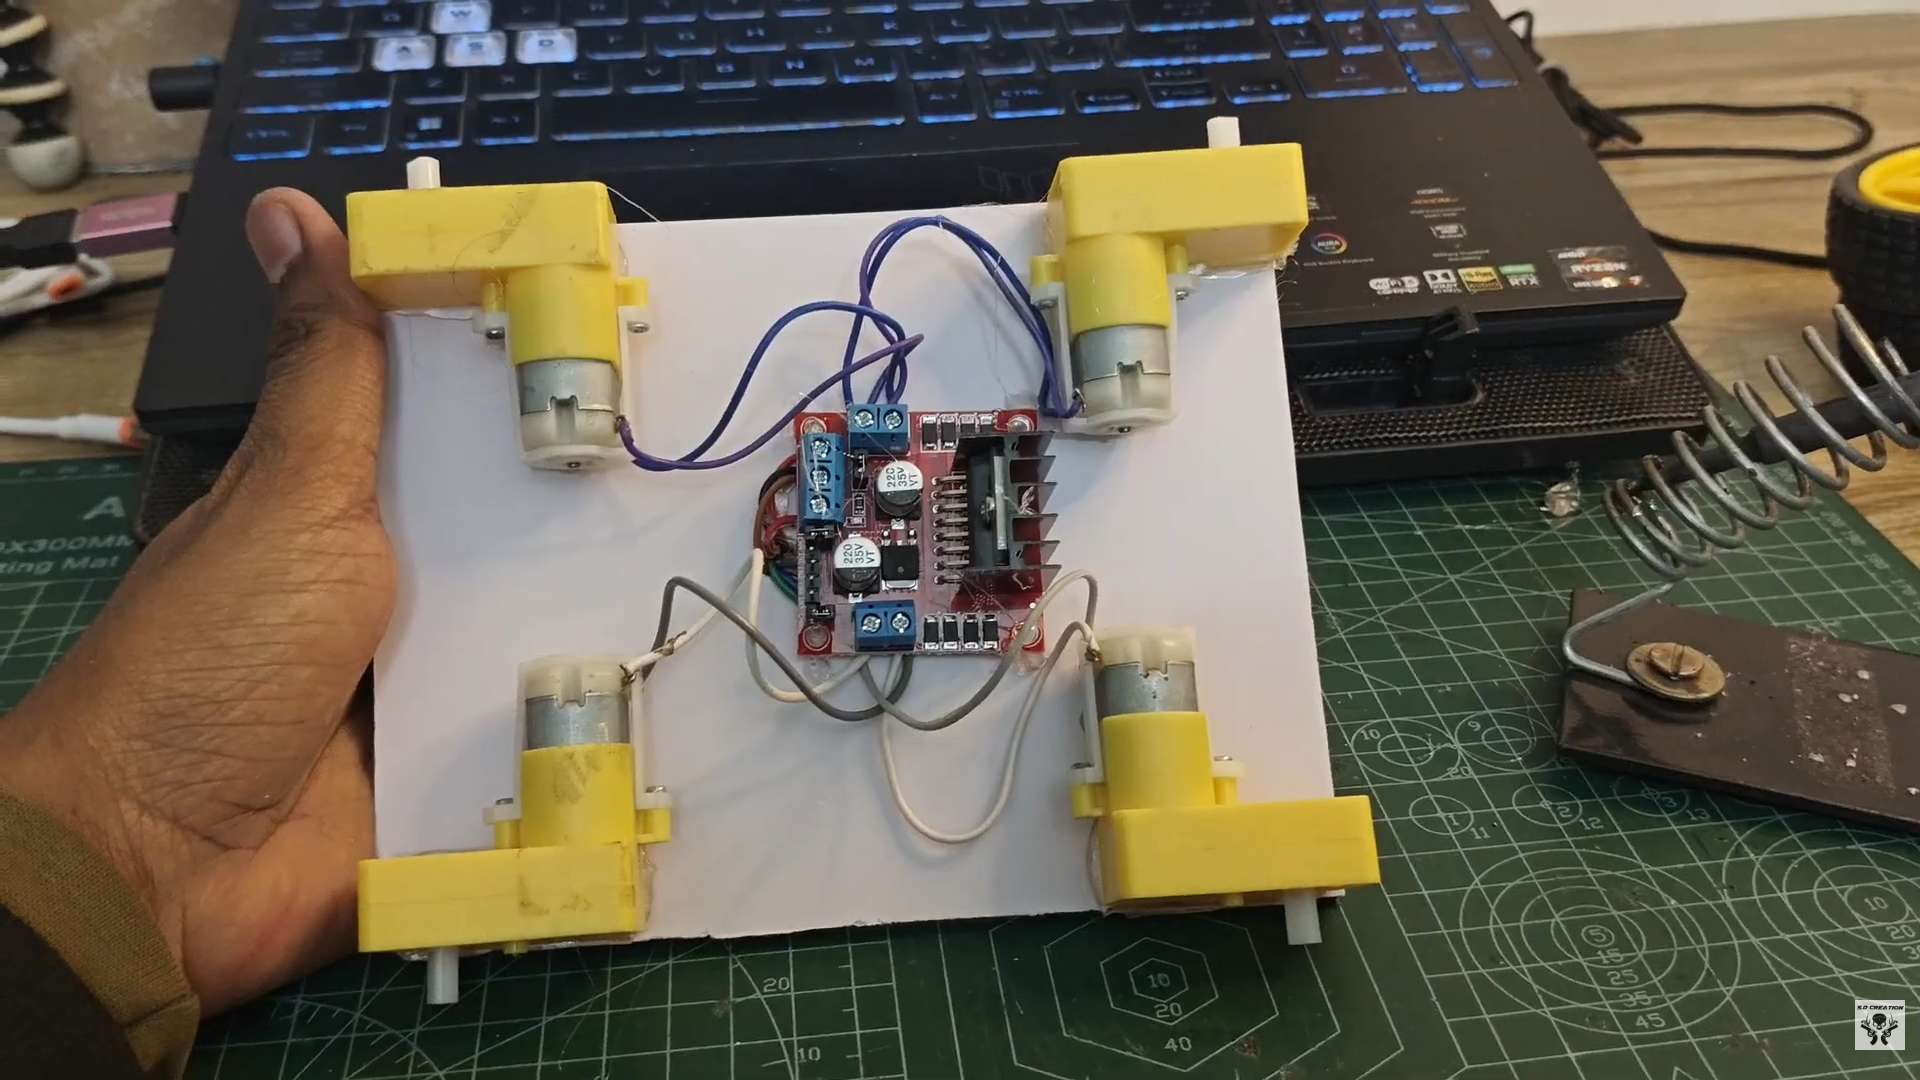
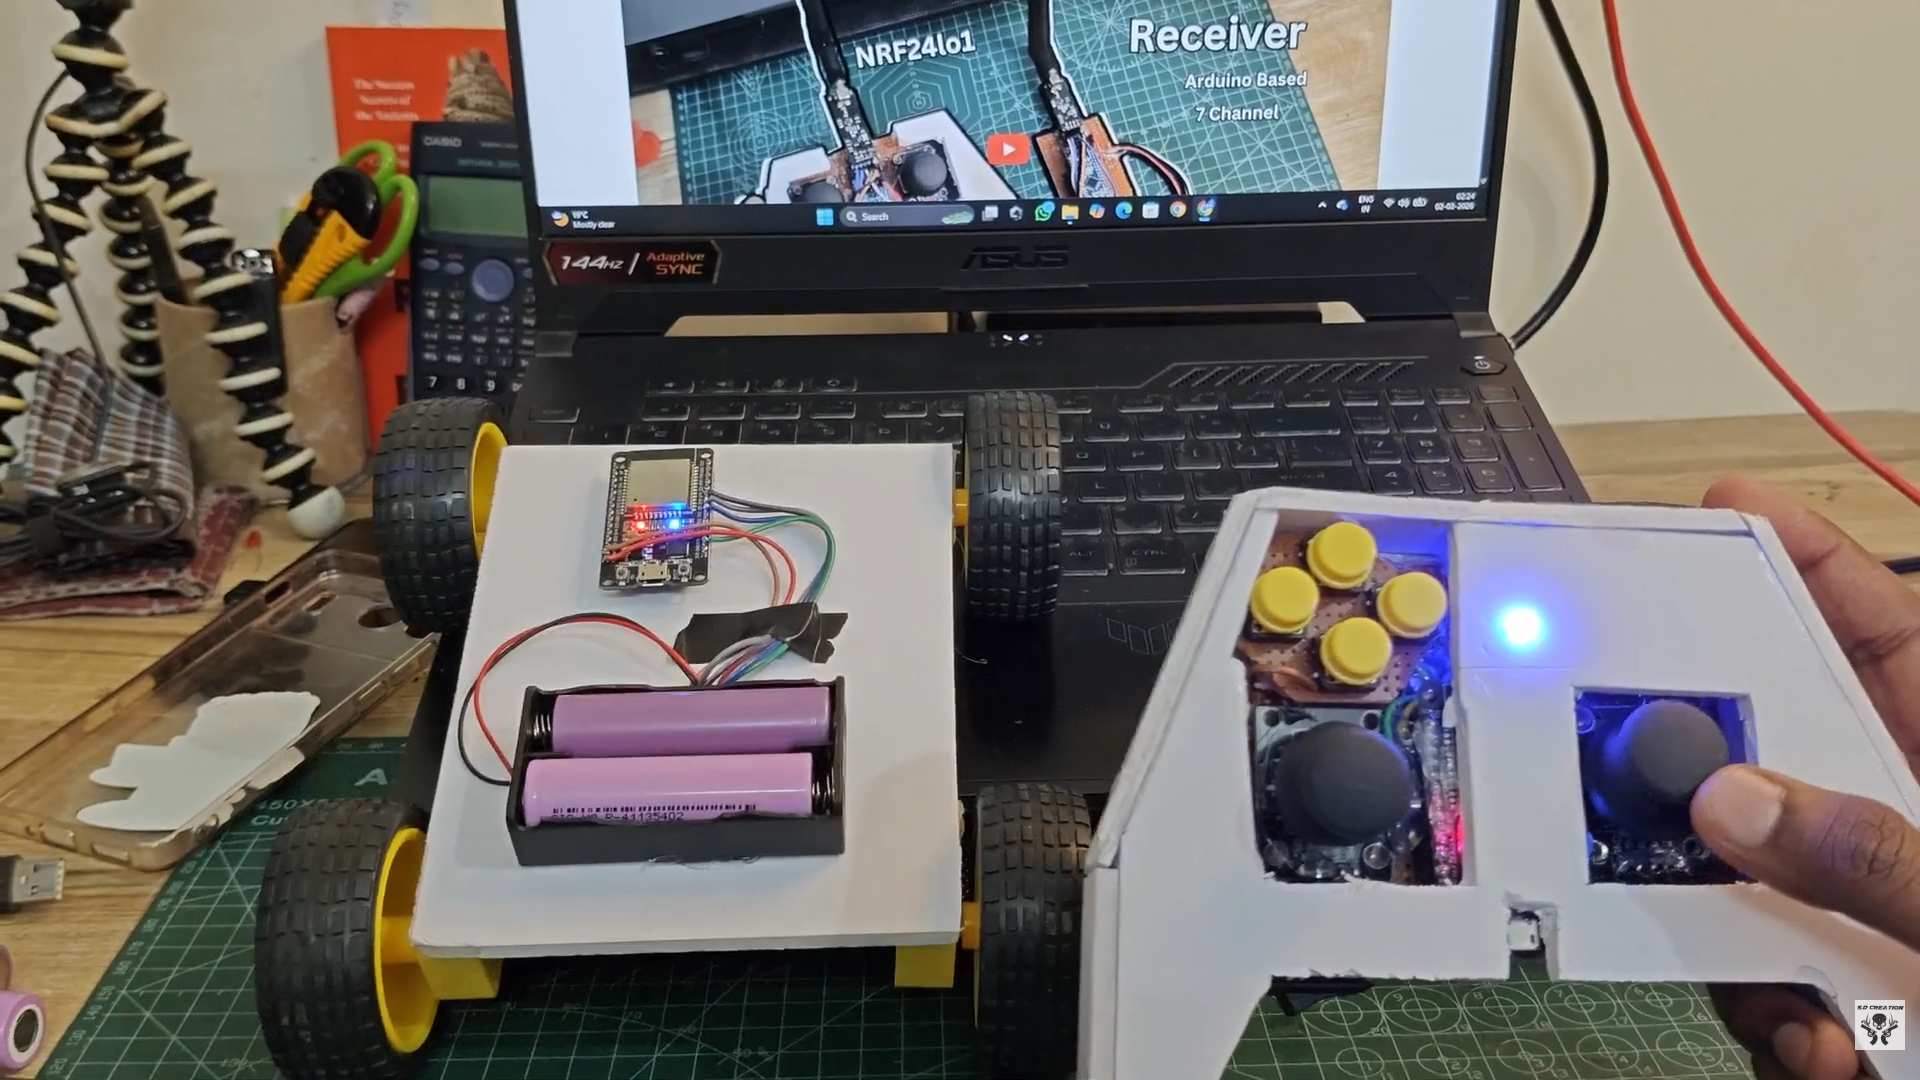
To test the transmitter in real-world conditions, I built a simple RC car using an ESP32 as the receiver, an L298N motor driver, BO motors, and a suitable battery pack. Before taking it outside, I first tested everything on the table to make sure the basics were solid. The joystick movements were reflected instantly on the Serial Monitor, button presses were detected correctly, and the overall latency felt almost negligible. After that, I moved to real-environment testing. Even inside a Wi-Fi–crowded college campus, ESP-NOW performed smoothly without noticeable interference. The controls felt instant and highly responsive, which honestly exceeded my expectations. During indoor testing, the effective range was around 10–15 meters. Outdoor range testing is planned and will be covered in upcoming videos, where I’ll push the system much further. Overall, this ESP32 ESP-NOW–based RC controller turned out to be fast, reliable, and highly flexible. It eliminates the need for external RF modules while still delivering low-latency and responsive control. This makes it an excellent choice for a wide range of applications, including RC cars, mobile robots, and even robotic arms. If you’re already working with ESP32 and planning any kind of RC or wireless control project, this approach is absolutely worth trying.
Circuit Schematics & Block Diagram